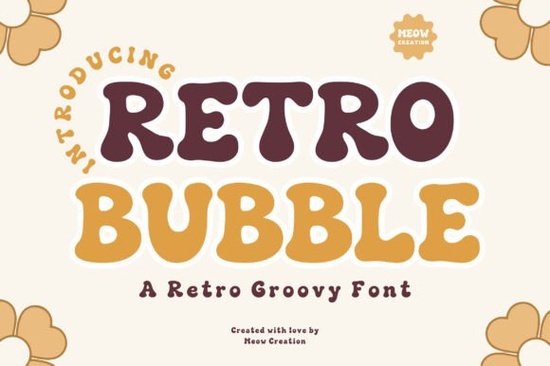
If you need a typeface that feels warm, approachable, and instantly recognizable, Retro Bubble Font is a practical choice for everyday creative work. Designed with soft, rounded letterforms and a distinct seventies groovy aesthetic, it works well across both screen and print. Instead of forcing a serious tone into your layouts, this style lets the characters speak for themselves while keeping the visual hierarchy clear. Whether you are preparing files for a local shop, selling digital downloads, or just testing new layouts on your tablet, having a reliable display type in your folder saves time during the drafting phase.
Many creators start by looking at holiday themes or seasonal campaigns, and the rounded shapes here naturally complement spring motifs, Easter graphics, and festive St. Patrick’s Day layouts. When you want something slightly heavier without losing that vintage charm, pairing it with a classic geometric alternative gives you enough contrast to separate headlines from body text. You can also explore lighter, more delicate options like the whimsical decorative styles when your layout needs a softer touch around the edges.
What types of projects work best with rounded display typefaces?
Because the strokes are thick and the curves are generous, these characters read quickly from a distance. That makes them reliable for merchandise mockups, storefront signs, and social media thumbnails. Crafters and small business owners often apply them to t-shirt prints, vinyl decals, and sticker sheets. The playful energy also translates well to children’s activity worksheets, classroom posters, and educational branding. If you run a print-on-demand shop, testing this typeface on product templates before publishing helps you confirm how the letters render on different fabric textures and paper weights.
How do you pair playful headlines without cluttering the layout?
A strong headline does not need extra decorations to catch the eye. When working with Retro Bubble Font, keep the surrounding elements minimal. Use generous white space, stick to two or three complementary colors, and choose a clean sans serif or simple serif for supporting text. You can also underline key words sparingly or use italic variations only in secondary lines to maintain visual balance. If your design feels too busy, scale the headline down slightly and increase the letter spacing until the shapes have room to breathe.
Why do POD sellers and crafters favor seventies-inspired lettering?
Nostalgia sells, but more importantly, it creates an instant emotional connection. Customers scrolling through marketplaces respond to familiar shapes and warm color palettes. This specific groovy style fits neatly into that category while staying modern enough for current branding trends. Sellers who work with bold statement type for quote graphics often rotate seasonal fonts to keep their storefront fresh. Pairing this rounded headline style with simple line art, hand-drawn icons, or vintage color washes usually produces the highest engagement rates on social platforms.
For educational or classroom projects, you might want to switch to something more structured like readable academic styles for long paragraphs, keeping the playful type reserved for section dividers. When working with younger audiences, softer alternatives like gentle nursery-inspired lettering can sit nicely beside your main headlines to soften the overall tone. Always test print a single sheet before running a full batch, because thick rounded letters sometimes trap ink or appear slightly blurred on low-resolution home printers.
How can you prepare these files for clean output every time?
- Convert text to outlines if you are sending files to a commercial printer, ensuring no character shifts occur.
- Check baseline alignment across all text layers so the bottom edges sit flush on product mockups.
- Use high-contrast color pairings, like dark charcoal on soft cream, to maintain readability on textured materials.
- Export web images at 150 DPI for screens and bump to 300 DPI before submitting print-ready PDFs.
- Keep a copy of the original layered file so you can adjust kerning or swap colors without rebuilding the layout.
Start by placing the headline on a blank canvas, adjust the tracking until the curves feel balanced, and add your secondary text only after the main message is locked in position. Test a small batch, gather feedback from your audience, and refine the spacing based on how the design looks in real-world lighting.
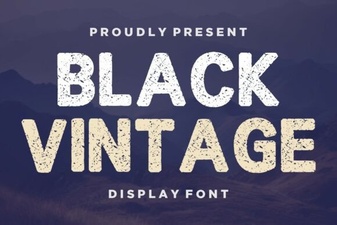 Retro Black Fonts for Classic Design Projects
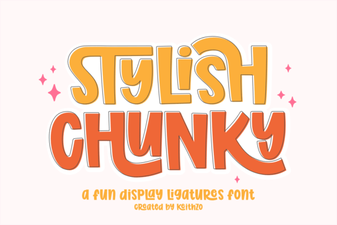 Bold & Stylish Chunky Fonts for Creative Projects
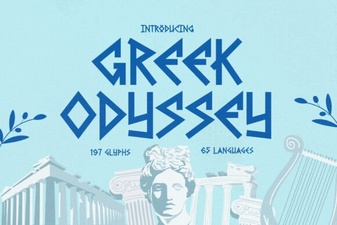 Greek Odyssey Font for Digital Design Projects
 Thick Outline Fonts for Bold & Creative Designs
 Designing with Vintage College Fonts
 Sparkle Rainbows Font: Elegant Design for Creative Projects